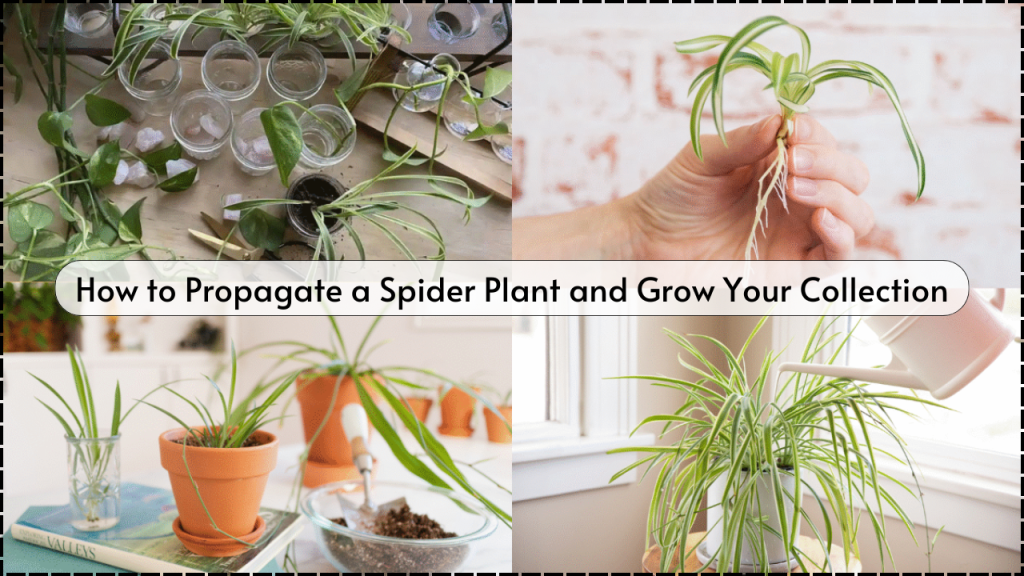
The spider plant (Chlorophytum comosum) is a beloved staple in many homes thanks to its attractive arching leaves, low-maintenance care, and air-purifying properties. Recognizable by its long green leaves with creamy white stripes and its charming baby offshoots, often called pups, this plant not only beautifies spaces but also multiplies easily.
The best part? You can grow your collection without spending a single dime. Spider plant propagation is simple, rewarding, and a fun project for both beginners and seasoned plant enthusiasts.

Why You Should Propagate Spider Plants?
There are plenty of great reasons to multiply your spider plants:
| Reasons to Propagate | Benefits |
|---|---|
| Expand your indoor plant collection | No cost involved—grow more from what you already have |
| Replace aging or root-bound plants | Maintain a vibrant, youthful plant setup |
| Share with friends and family | Spider plants make thoughtful gifts |
| Decorate different rooms or spaces | Use new plants to refresh various corners of your home |
| Preserve a sentimental plant | Keep a part of your original spider plant forever |
| Great educational project | A fun way to introduce children to gardening and plant care |
How Spider Plants Reproduce?
Spider plants are unique in that they produce small offshoots, commonly called spiderettes or babies, that dangle from long stems. These miniature plants often come with tiny root nubs, making them ideal candidates for propagation. There are three main propagation methods:
- Rooting spiderettes in water
- Planting spiderettes directly in the soil
- Dividing an overgrown mother plant
Let’s explore each method in detail.

Method 1: Rooting Spider Plant Babies in Water
One of the easiest and most visually satisfying ways to propagate a spider plant is by rooting its baby offshoots in water. This allows you to observe root development before planting.
What You’ll Need:
- Healthy spider plant with visible pups
- Clean, sharp scissors
- Clear glass jars or cups
- Room-temperature water
Step-by-Step Instructions:
| Step | Description |
|---|---|
| Select the baby plant | Choose a pup with small root bumps and at least a couple of inches in length |
| Cut the offshoot | Use sterile scissors to snip the baby off the mother plant |
| Place in water | Submerge the root base in water—keep the leaves above the water line |
| Find a bright spot | Keep the jar in indirect sunlight to promote healthy growth |
| Change water regularly | Refresh water every 2–3 days to prevent bacterial buildup |
| Wait for root development | Within 1–2 weeks, you should see white roots appear |
Once the roots reach 1–2 inches in length, the plantlet is ready for potting in soil.
Method 2: Planting Spiderettes Directly in Soil
If you prefer to skip the water stage, you can plant the spiderette directly in the soil. This method is slightly quicker and just as effective.

What You’ll Need:
- Plantlets with root nubs
- Small pots with drainage holes
- Well-draining potting soil
- Watering can
Step-by-Step Instructions:
| Step | Description |
|---|---|
| Choose mature pups | Look for baby plants with visible root starts |
| Prepare the pot | Fill it with moist, well-draining soil |
| Plant the pup | Insert the base into the soil and press gently around it |
| Water lightly | Just moisten the soil—avoid overwatering |
| Place in indirect sunlight | Keep the pot in a well-lit area out of direct sun |
| Water when needed | Let the top inch of soil dry before watering again |
Optional Tip:
You can root a baby while it’s still attached to the mother. Simply place a small pot with soil beneath it, pin the baby in place, and let it root. Once rooted, snip it off.
Method 3: Dividing the Mother Plant
If your spider plant is large and bushy with multiple crowns, division is a great way to propagate new, mature plants.
What You’ll Need:
- A large, healthy spider plant
- Sharp knife or garden shears
- Extra pots
- Fresh potting mix
Step-by-Step Instructions:
| Step | Description |
|---|---|
| Water the divisions well and resume the normal care routine | Gently take the mother plant out and loosen the root ball |
| Locate natural divisions | Identify where the plant has naturally separated crowns |
| Divide the root clumps | Use your hands or a clean blade to split the plant into smaller sections |
| Replant each section | Place each division in its own pot with fresh soil |
| Water and care | Water the divisions well and resume normal care routine |
Post-Propagation Care Tips
Once you’ve successfully propagated your spider plant, it’s essential to ensure the new plants grow healthy and strong.

| Care Aspect | Best Practice |
|---|---|
| Watering | Keep soil slightly moist but not soggy. Don’t let pots sit in water. |
| Lighting | Bright, indirect light is ideal. Avoid direct sunlight that can scorch leaves. |
| Temperature | Keep indoor temperature between 65–75°F (18–24°C). Protect from drafts. |
| Feeding | Start fertilizing only after new growth begins. Use diluted, balanced liquid feed. |
| Repotting | Use well-draining soil and pots with good drainage holes. |
Common Problems During Propagation (and How to Fix Them)
| Problem | Cause | Solution |
|---|---|---|
| Baby plant wilts in soil | Overwatering or too much sun | Choose mature pups and place them in bright, indirect sunlight |
| Yellowing leaves in water | Stagnant or dirty water | Replace water every 2–3 days; ensure leaves are not submerged |
| No root growth | Immature plantlets or low light | Choose mature pups and place in bright, indirect sunlight |
| Root rot in soil | Poor drainage or excessive watering | Use well-draining soil and avoid watering too frequently |
Final Notes
Propagating spider plants is one of the easiest and most satisfying ways to multiply your houseplant collection. Whether you’re placing baby spiderettes in water, planting them directly in soil, or dividing a large plant, each method has its own charm and benefits.
By following the simple steps above, even beginner gardeners can grow new, thriving spider plants in no time. Not only will this save you money, but it will also bring more greenery into your life—and maybe even brighten someone else’s day when you gift them a homegrown plant baby!

Katherine Johnson is a passionate writer with a keen interest in storytelling, content creation, and creative expression. She enjoys exploring diverse topics and crafting engaging narratives that captivate readers.